Yesterday I was wrestling with this one, and with a bit of help from David Ebbo (twitter: @davidebbo) I was able to get this solution.
Technical areas
- Node.js web app
- Azure App Service
- Continuous Deployment via git
End goal
I have a node.js web app that includes a build script. This build script creates the distribution files for the web app (front-end). Ultimately, I could make my life really simple and just locally run the build script to generate the ugly (and dynamically-named) dist files. This poses a couple of problems though, mainly with the git repo (build script runs, new dist file names are generated resulting in a delete and add for the git repo). Not to mention, it’s typically bad practice to include generated files in a git repo (include the process (i.e. the build script), not the results (i.e. the dist files)).
So, needless to say, I didn’t want to have to commit my distributable files to the git repo just so they would live in my Azure App Service upstream repo (CD).
Kudu does npm install –production by default
Yep, this was a kicker for me. No big deal, I want my build script to run post git push to Azure App Service upstream. But wait, my build script has devDependencies that it requires. And it turns out… Kudu (understandably so) runs npm install --production by default, which only installs dependencies and omits devDependencies. One of those things that if you really think about it, makes total sense. But an issue for me.
Custom deploy script to the rescue!
Ultimately for my use-case I needed to force Kudu to run npm install instead of npm install --production so that I would have my devDependencies resident in my remote web app.
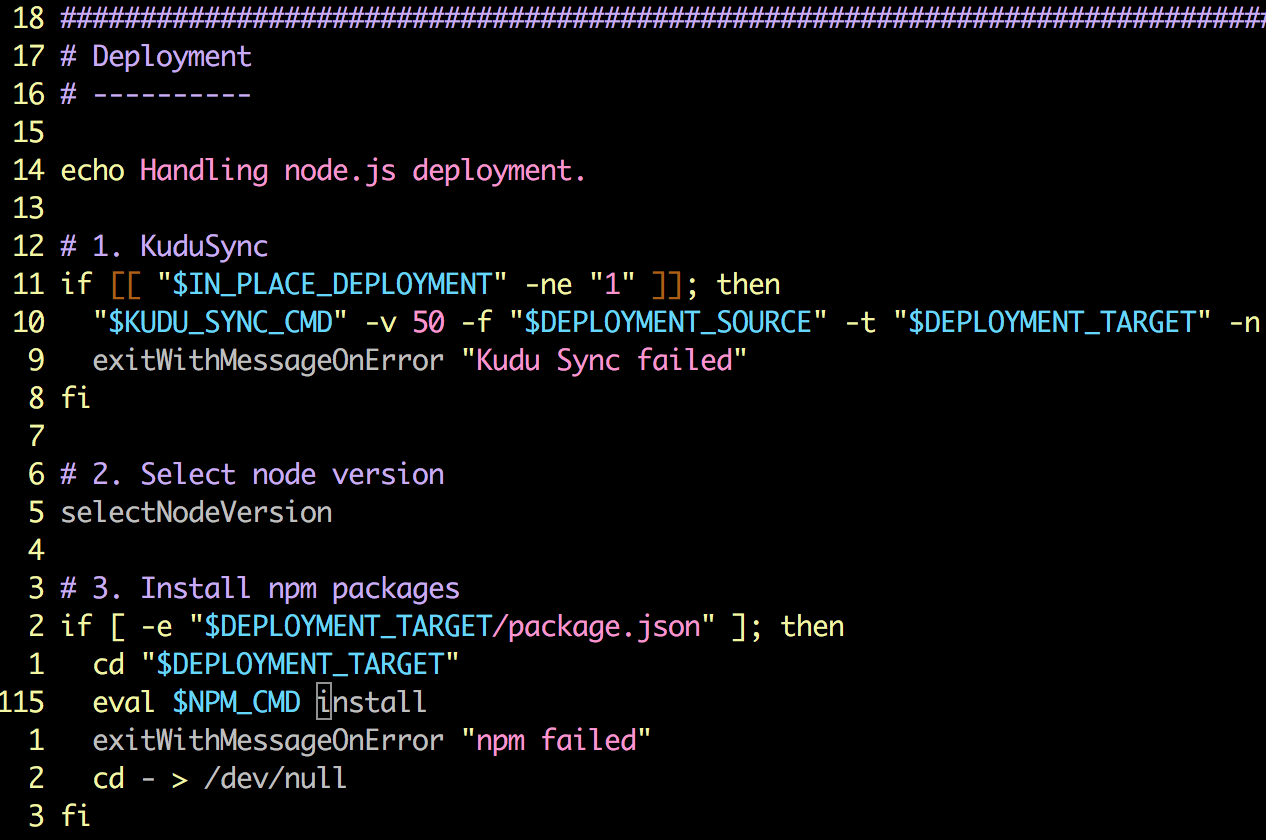
Here is a super handy way to do this. Basically you need to pull down the deployment configuration and deployment script so that we could modify it. The deployment configuration is .deployment and the deployment script is deploy.sh.
The way to retrieve these locally is to have your current working directory as the root of the git repo, and use the Azure CLI to run azure site deploymentscript --node. This creates those two deployment files in your current working directory. deploy.sh may look daunting at first glance, but it’s really quite simple to grok once you start reading it. Ultimately, for my purposes I needed to change this line:
1
eval $NPM_CMD install --production
To:
1
eval $NPM_CMD install
Perfect! Now I have devDependencies living in my remote after a git push.

But how do you kick off the post-deployment build script?
That’s right… all of this is for naught if I didn’t actually run the build script to generate my dist files. I had originally continued on with the deploy.sh approach and just put eval $NPM_CMD run build in there, but that was giving me a handful of errors. Instead of troubleshooting that, I took a step back and used the actual package.json config file to put this script invocation in the appropriate place.
In the scripts section I added a postinstall script to run my build script. This is a simple node scripts/build.js for my particular solution.
Build script is running! But wait… Windows max path issue.
Using a newer Node.js/npm version
This is worth noting, and David helped out big time here. I was running into max path issues with Azure App Service because of my npm dependency tree. Behavior changed in npm v3 to handle this in a better fashion, but unfortunately an older version of npm was being used.
The workaround to this was to add/change the app setting in the Azure App Service WEBSITE_NODE_DEFAULT_VERSION to a newer node version (in my case, 6.9.1).
Finally! Success! The end result was the desired outcome… No longer committing and tracking distributable files generated by the build process, and running this all post git push to Azure App Service upstream repo.
Enjoy!
